Friday, September 29, 2017

[WIP] RG Unicorn LED mod WIP2

Picking up where we left off, I've already finished building and modding the lower half of the kit. So now its time to continue.


One major difference of this kit with it's MG or PG counterparts is its head transformation gimmick. Good thing there's still plenty of room to put the LED. Again, modding this area will mean that the transformation gimmick will be sacrificed.


Next that I worked on was the backpack. Like the MG kit, it also has plenty of space for LED and wiring. I didn't bother to adding LEDs to the thrusters since it would require a lot of work, smalled LEDs that I currently don't have, and the light from the LEDs shine through the thrusters anyway.


Next that I worked on was the chest area of the kit. The hard part about this area is that this is where wires from other areas pass through. So I had to take into consideration all the sections as I build this. What I did is I passed the wires through the chest first before putting the armor pieces.Good thing there's just enough space to pass the wires through.


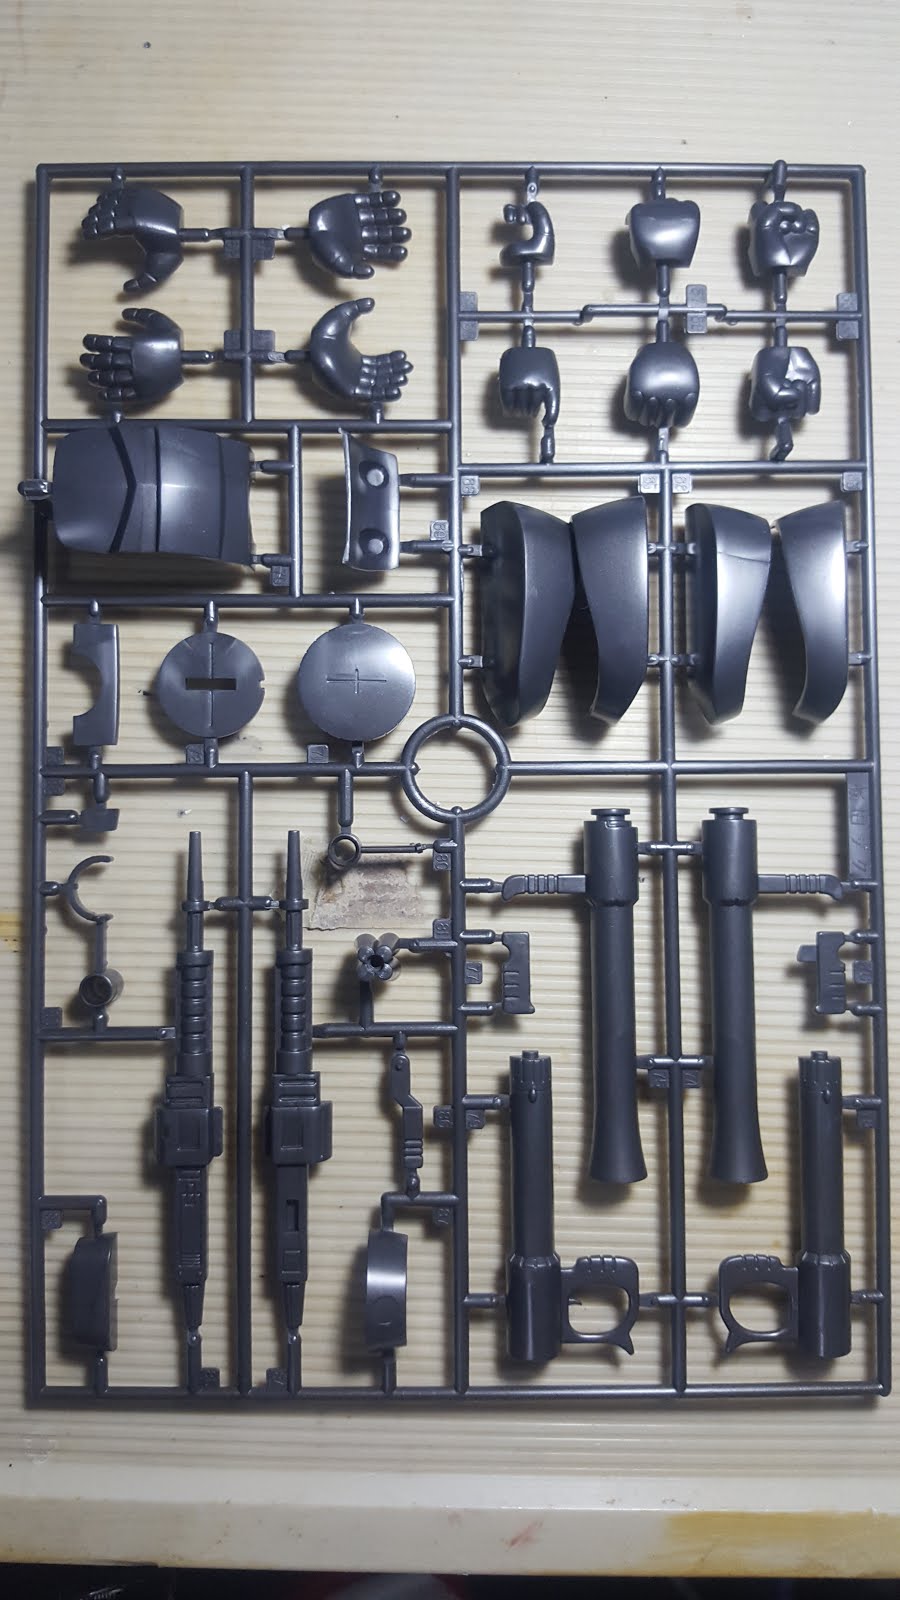
Last part for this build was the arms. I think the forearms was the hardest part of this project. There was just no space there to pass the wires through, plus the pieces are designed to lock into each other, assembling only in a certain order. To address the issue, I made grooves on the pegs so that they can still be inserted even with the wire in place.

 The elbow joints was also another headache, which was solved by scribing a groove onto the joint to make some space.


Once everything is done and assembled, I did a little bit of detailing and marked the panel lines. It really brought out the RG details of this kit.


Considering the 2 week deadline, I'm really satisfied with the result of this project. Some areas can still be improved with enough planning though. 

The panel lines really broke the plain design of the kit so I'm still considering whether to some decals to it.

[WIP] RG Unicorn LED mod WIP1

Been a while since I did a WIP post. So here's one.


So the RG Unicorn that I ordered finally came 2 weeks ago. And I was actually saving this until after a local group event I was co-organizing. I should have tucked it away instead of keeping it on top of my workbench but the excitement got the best of me, hence this WIP post.

I wanted to finish it in time for the event so I decided not to paint it. I lost most, of my "preview" pics but most of the armor pieces are under-gated. So I'm expecting a lot ov variation of this kit to be released some time in the future.

Since this will be the first time I'll be building this, I decided to do the LED mods as I build the kit.


Following the manual, I started working on the feet. As soon as I started working on this kit, the build process felt familiar. It's as if I'm building an MG Unicorn kit. Of course there are some design variations but the basic build process is almost the same.


Even the legs' build process closely resembles the MG version. Mod wise, the leg area has plenty of space to accommodate the wiring. Unfortunately, there isn't enough space to keep the transformation gimmick. Either I keep it in Unicorn mode or NT-D mode. I decided to display this in its NT-D mode. 
 One of the hardest section of the kit was the upper thigh area where the psychoframe wraps around the thigh area. I had to use 4 LEDs there, one on each side for proper illumination.


Next up was the waist area. Pretty straightforward here. I'm utilizing the areas designed for the transformation gimmick as much as I can to help hide the wiring. Again plenty of space around these parts to work through the wiring.

I guess I'll stop here for now to give myself some rest. Considering this has a 2 week build deadline, I can say that I'm quite on schedule with the current status of the kit. Not bad for working 2-3 hours on this kit per day.

Tuesday, September 26, 2017

[REVIEW] 1/100 Vintage Real type Zaku I Reissue Unboxing

I recently joined an an online FB activity my Mecha Swat called "Raise Your Flag" <>. He's sending out Zaku kits to various people across the globe and have them paint the kits in their country's colors. What a way to bring the community together.

I decided to join but instead of getting a kit from him, I got my own since I wanted to do one in 1/100 scale and also so that more people can join this event.

For my entry, I went with the recently reissued vintage 1/100 Real Type Zaku I. I wouldn't call this rare since this is a reissue of an older kit Bandai once produced. Beside the obvious difference in proportion. I expect the build process for this kit to be a bit different since the way they design these kits might be different with how they do it today.


I still haven't decided on a color scheme which will use only my country's colors(red, blue, white, yellow, event's requirement). So for now let's see what we have inside the box.


Looking at the manual, for a vintage design and engineering this kit looks a bit complicated. This isn't your regular HG style kits. Joints are designed quite differently.


A welcome surprise was the inclusion of water-slide decals out of the box. Quite plenty too. Why can't Bandai do this on a regular basis?


Parts come only in 3 runners, each with its different color.


Upon closer inspection of the parts, it becomes apparent that more effort will be needed for this kit. For starters, nubs are as big as they can be. Also parts are not designed to snap fit together. Pegs are only used to guide the alignment of parts and glue is required to join pieces together.


If I'm understanding this correctly, this kit was either designed or 1st released in 1982.

This project will be exciting since this is quite different from the kits I've previously built. And this will be a good way to improve on my basic building skills.

Wednesday, September 20, 2017

[REVIEW] China Airbrush + Compressor Set Review + Mods

So I recently got one of those cheap airbrush compressor sets.


One issue with these kinds of compressors are its relatively short operating time and long breaks due to the motor heating up. Since I haven't got the mood to work on any of my projects at the moment, I decided to mess with the compressor for now.

Since I had some old PC fans lying around, I decided to add one to the compressor. I know this will not solve the heating issue or increase operating time but this may help in cooling the motor faster. I'm not planning on increasing it much anyway since the 10-15 minute operating time is already too much for me.


Before I do any thing with it, I wanted to see 1st the inside so I could plan what I actually wanted to do. Looking inside, it's a bit cramped so there's not much space to put anything else inside.


Once I get the layout of the parts, it's time to make the holes where air will pass through. I decided to add the fan underneath so I drilled holes under the case. 


I felt that the holes are a bit too small so I cut up and filed the holes to make them bigger. I also connected the fan to the supply socket so it can work independently with the compressor. That way, even thought the motor is turned off, the fan still runs cooling the motor. This works best during breaks where I need to cool the motor so I just leave the compressor plugged to a wall socket.


Without trying to complicate this project, I hot glued the fan to the underside of the compressor. The direction of the fan is such that the air blows into the compressor case.


So this is pretty much how it will turn out. It looks that I attached the mini water trap the other way around and I've already fixed that by attaching it underneath the airbrush.


For exhaust, I just drilled a few holes on the top of the case so the air has somewhere to come out.


I also put blobs of hot glue to act as risers and dampeners so the fan can suck air in and also prevent the compressor from vibrating too much.


Also, the set I bought comes with a 2A power adapter. I replaced that with a 3A power adapter. What it does is it drives the motor faster, hence pumping more air and giving more pressure. This may cause the motor to heat up faster but that's what the fan is for anyway.


Test results look good. I wasn't able to do some tests before the mod, but I don't think the added fan has any impact to the pressure or any other aspect. The compressor still isn't very noisy which is a good thing. My existing DIY air compressor still works albeit very loud. so this new air compressor is a really good alternative.

Welcome

Welcome to MechTalyer. My personal space for everything Gunpla.

Search

Popular Posts

Followers

Categories

1/100 (5) 100 (7) 144 (10) 2017 (4) air compressor (2) airbrush (6) amazing red warrior (2) anubis (1) avalanche (1) bandai (9) barbatos (1) base (5) blog (1) bsc (1) community (2) completed (1) conversion (2) custom (18) daban (3) decals (1) destiny (1) display (7) dragon momoko (10) event (1) exia (4) expo (2) flying base r (1) geirail (1) GMKC (2) guide (1) gundam (21) gunpla (24) gunpla builders den (2) haro (1) hazel custom (1) hg (8) hobby (11) IBO (1) jesta cannon (1) kamil (30) kotobukiya (1) led (38) led unit (1) magic toys (1) master grade (11) meetup (1) metal build (5) MG (25) mod (25) monoeye (1) nu (4) others (2) paint (7) pearl gloss (1) peg (1) phenex (4) philippines (4) qan[t] (2) random (7) review (15) RG (6) rx78 (2) setup (1) shia (2) sinanju (1) site (1) star build strike (2) stickers (1) strike freedom (8) tthongli (2) tutorial (6) unicorn (5) upgrade (1) vintage (2) wing expansion effect (1) wing zero custom (1) wip (36) zaku (2) zaku 2 (3)

Statistics

Powered by Blogger.