Showing posts with label zaku. Show all posts

Wednesday, November 15, 2017

[WIP] 1/100 Vintage Real type Zaku I WIP 1

So I finally got to start building this kit.


This kinds of kit are perfect if you want to practice and/or improve your basic model kit building skills. These kits doesn't have the snap fitting technology that modern kits have where the pegs lock into other pieces to form different parts of the kit. For this kit you will be required to glue pieces together.

Plus due to the age, this kits design and proportion looks ridiculous compared to today's standards.


Like I said earlier, this kit requires that pieces be glued together. But since I want to paint this too, I'll have to systematically build this so that I can efficiently paint this kit.


Before painting, I need to make sure all the glued areas are clean. That's called SEAM LINE REMOVAL. Basically I want to make a part look one seamless kit. For more realistic looking models, seam line removal is used to hide where pieces join together and make it look like the full scale version.

I think seam line removal is one of the most repetitive phases of model kit building. It's nearly impossible to get all those seam lines in just one passing. After gluing the pieces, we sand the parts then paint primer to check if the seam lines are successfully removed. The primer helps to bring out all the imperfections of a part, whether a rough area that needs finer sanding, or seam lines still showing. If you're still not satisfied with the results, another round of sanding - priming - checking may be done until you're satisfied.

To properly deal with the seam lines, I need to glue parts 1st that would normally lock other parts together. That is OK and all but not if you plan on painting the kit. 

This is where PRE-PAINT MODS come in handy. It involves modding parts that would make painting and assembling much easier.


A common example of this pre-paint mods would be the knee and elbow joints. without doing those mods. I wouldn't be able to reach those edges and corners during painting and will look bad once finished. 


While dealing with specific parts, I like to put it all together every once in a while to get an overall look of the kit, and to see areas that still need to be worked on. 

As of now, I'm still dealing with the seam lines while I plan my color scheme.

Tuesday, September 26, 2017

[REVIEW] 1/100 Vintage Real type Zaku I Reissue Unboxing

I recently joined an an online FB activity my Mecha Swat called "Raise Your Flag" <>. He's sending out Zaku kits to various people across the globe and have them paint the kits in their country's colors. What a way to bring the community together.

I decided to join but instead of getting a kit from him, I got my own since I wanted to do one in 1/100 scale and also so that more people can join this event.

For my entry, I went with the recently reissued vintage 1/100 Real Type Zaku I. I wouldn't call this rare since this is a reissue of an older kit Bandai once produced. Beside the obvious difference in proportion. I expect the build process for this kit to be a bit different since the way they design these kits might be different with how they do it today.


I still haven't decided on a color scheme which will use only my country's colors(red, blue, white, yellow, event's requirement). So for now let's see what we have inside the box.


Looking at the manual, for a vintage design and engineering this kit looks a bit complicated. This isn't your regular HG style kits. Joints are designed quite differently.


A welcome surprise was the inclusion of water-slide decals out of the box. Quite plenty too. Why can't Bandai do this on a regular basis?


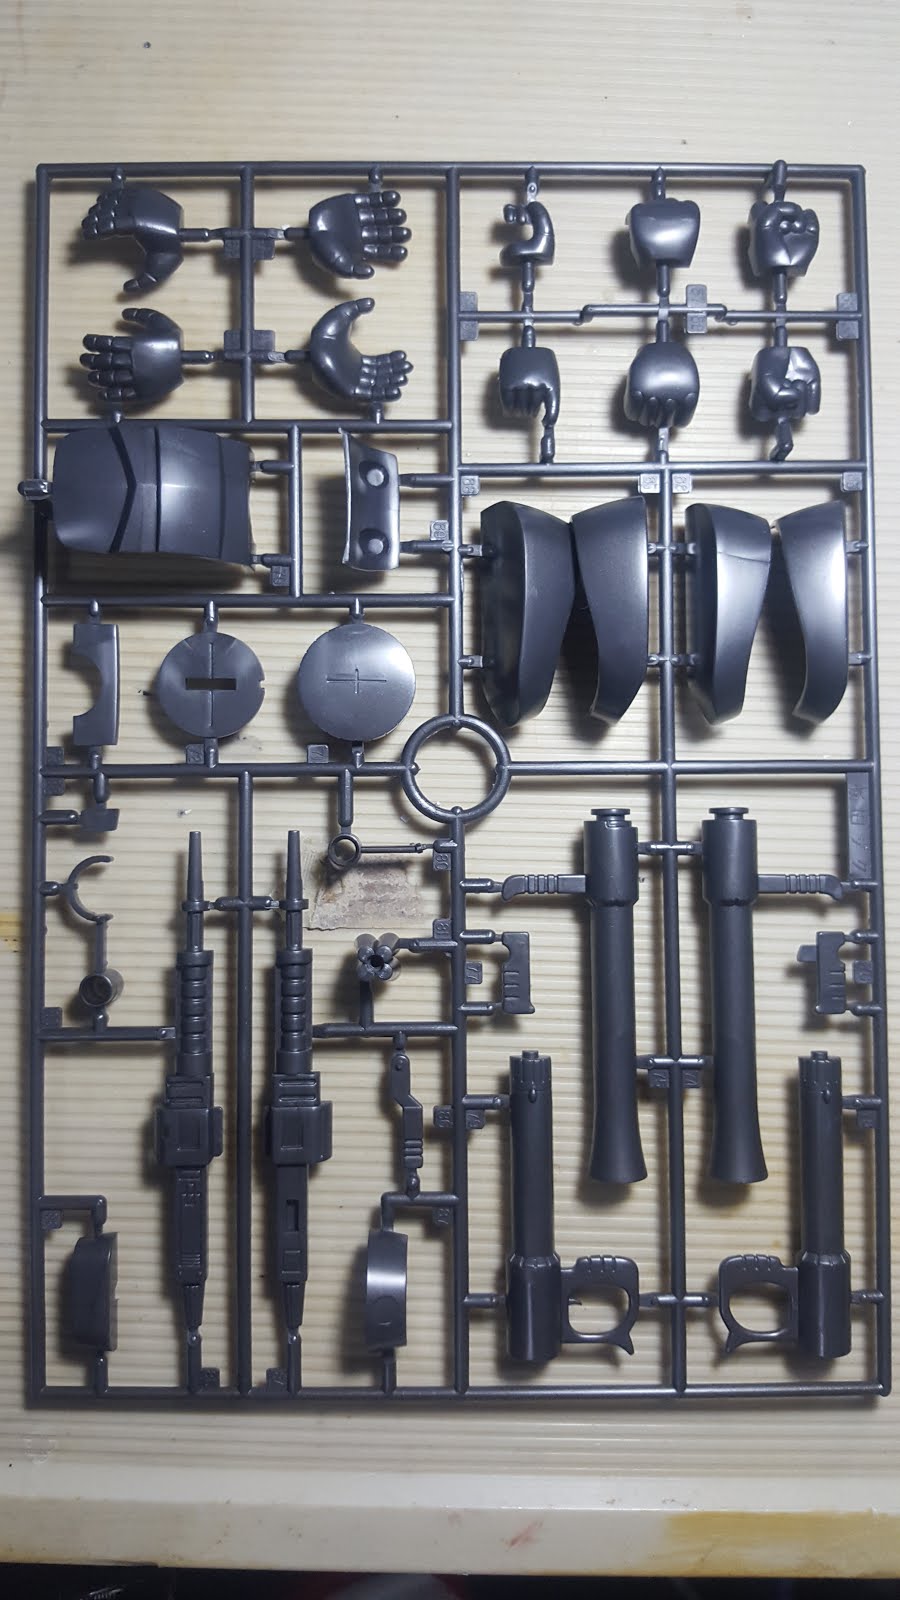
Parts come only in 3 runners, each with its different color.


Upon closer inspection of the parts, it becomes apparent that more effort will be needed for this kit. For starters, nubs are as big as they can be. Also parts are not designed to snap fit together. Pegs are only used to guide the alignment of parts and glue is required to join pieces together.


If I'm understanding this correctly, this kit was either designed or 1st released in 1982.

This project will be exciting since this is quite different from the kits I've previously built. And this will be a good way to improve on my basic building skills.

Welcome

Welcome to MechTalyer. My personal space for everything Gunpla.

Search

Popular Posts

Followers

Categories

1/100 (5) 100 (7) 144 (10) 2017 (4) air compressor (2) airbrush (6) amazing red warrior (2) anubis (1) avalanche (1) bandai (9) barbatos (1) base (5) blog (1) bsc (1) community (2) completed (1) conversion (2) custom (18) daban (3) decals (1) destiny (1) display (7) dragon momoko (10) event (1) exia (4) expo (2) flying base r (1) geirail (1) GMKC (2) guide (1) gundam (21) gunpla (24) gunpla builders den (2) haro (1) hazel custom (1) hg (8) hobby (11) IBO (1) jesta cannon (1) kamil (30) kotobukiya (1) led (38) led unit (1) magic toys (1) master grade (11) meetup (1) metal build (5) MG (25) mod (25) monoeye (1) nu (4) others (2) paint (7) pearl gloss (1) peg (1) phenex (4) philippines (4) qan[t] (2) random (7) review (15) RG (6) rx78 (2) setup (1) shia (2) sinanju (1) site (1) star build strike (2) stickers (1) strike freedom (8) tthongli (2) tutorial (6) unicorn (5) upgrade (1) vintage (2) wing expansion effect (1) wing zero custom (1) wip (36) zaku (2) zaku 2 (3)

Statistics

Powered by Blogger.