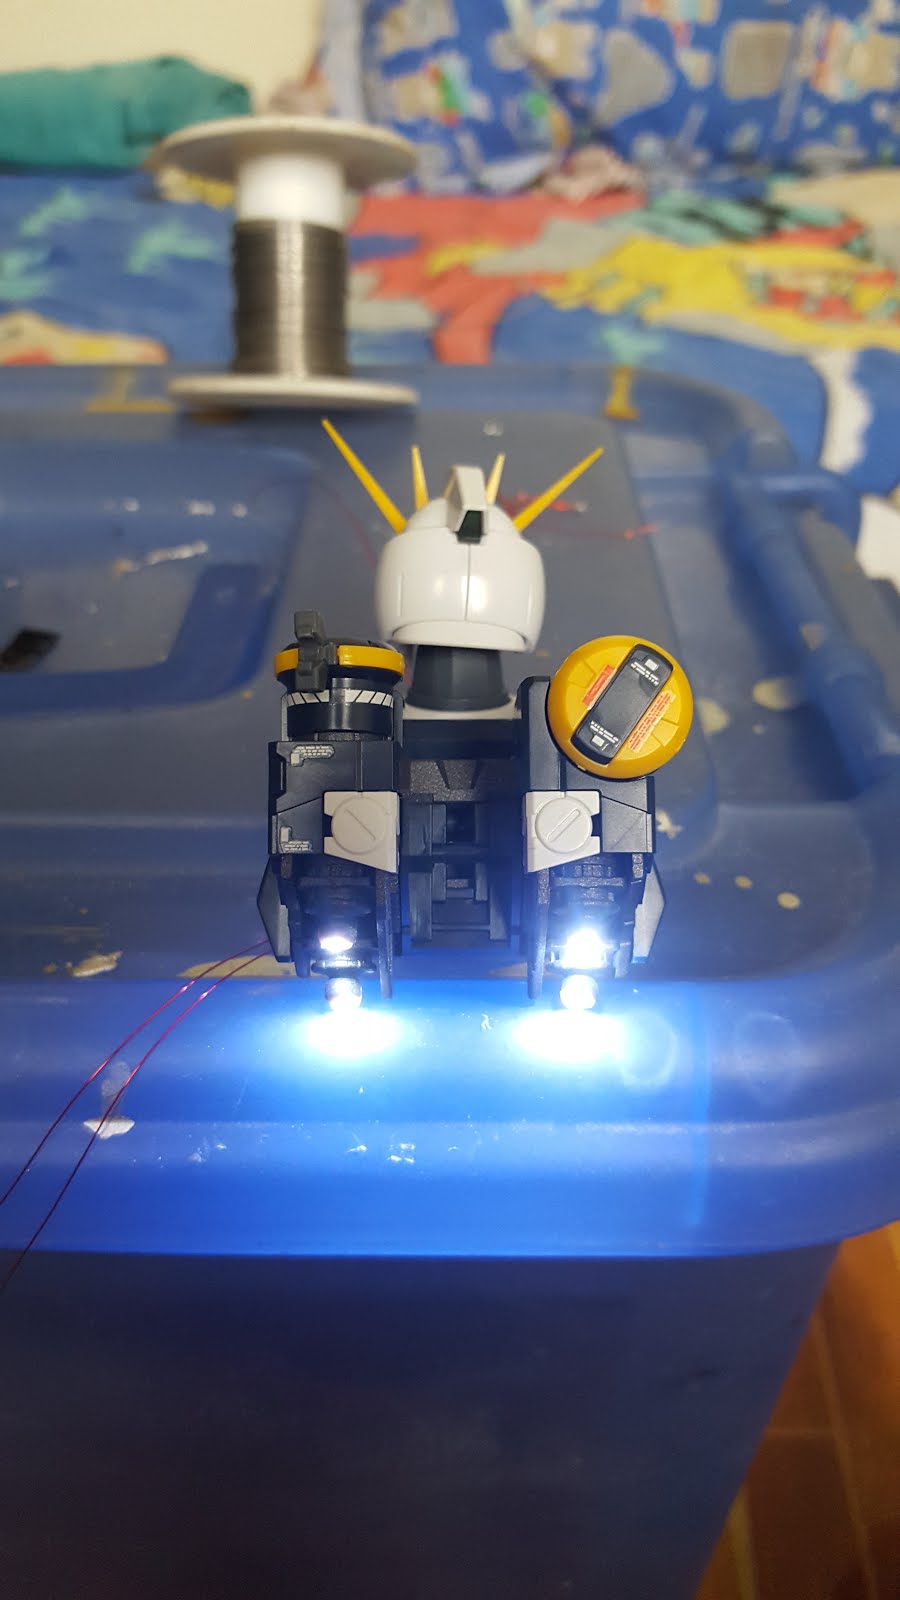
I have been asked countless times regarding my LED techniques. So here's a bit of documentation on how I do my LED mods. Do note that the stuff I'll be talking about may not be electronics common practices or standards. Some might even find them unpractical. I'm just sharing you how I do things and how they work on the things I want to do.
For today's lesson, I'll share how I power my works.
I have 2 ways of powering my circuits, using a 3 volt and a 5 volt source. The 3 volt source comes primarily from a button cell battery. The 5 volt source can either be a phone power bank or a phone charger that outputs 5 volts.
I mainly use the 3 volt battery during WIPs where I need to quickly test parts that I'm working on. While the 5 volt supply is for displaying finished kits.
One of the most frequently asked questions along with the power supplies would be the nature of using resistors. I often get asked by people what value of resistors they would need for their circuits. Resistor values generally depend on several factors: Voltage source, color of LEDs used, Number of LEDs used, and connections of LEDs.
I'm not going to discuss those into detail since there are already tons of tutorials on the internet and there are even calculators that make computing easier. But to show you an idea, here's some pics of LED circuits with various supply voltages, LED colors, connections and numbers.
See how varied it can get? So to spare myself the trouble of having to compute and get the right values of resistors for any specific circuit, I keep my circuits simple and consistent.
The simplest I can think of is to do my circuits with 1) no resistors and 2) wire all LEDs in parallel. I know it sounds inefficient, impractical, and a little bit lazy. But for something like Gunpla building, I don't think I need to consider power efficiency and also since I'm working with very tight spaces, additional components would make modding the kits really troublesome.
To achieve the no resistor circuit, I need to match the power supply to the LED's required voltage. And that's where the 3 volt battery comes in.
If I can run my circuit with the same voltage as the forward voltage of the LED, no resistor would be needed since as per the sample above, the circuit would only require a 1 ohm resistor which can be considered negligible.
That makes sense when we have only one LED. But what if we have to use multiple LEDs?
That's where the parallel connections come in. As seen in the sample above, the positive terminal of all the LEDs are connected to the positive of the power supply and the negative terminal will all be connected to negative of the power supply, neglecting the resistors.
Also note that I primarily use white LEDs since they're close to 3 volts and that by painting them with clear colors, I can get different colored LEDs. I find that more practical than combining different color LEDs in my circuits since each color LED would require a specific resistor value to be used together with the other LEDs.
One side effect of this would be that the nature of parallel connections tend to draw the same amount of current for all components. Meaning parallel connections will drain the batteries faster.
Once a kit is done and ready for display, 3 volt batteries wouldn't really be enough to display the kit for as long as I wanted to. That's where the % volt power supply comes in. I currently have a 5 volt power bank and a phone charger. The power bank can store enough charge to power my displays for a long time or if there's an outlet, I can use that for longer periods. But since the Supply voltage and the LED's required voltage isn't the same anymore, we'll have to use a resistor here to lower the supply voltage.

The sample above is how an LED is powered by a 5 volt power supply. This will require a 120 ohm resistor to lower the voltage to 3 volts similar to the LED. For multiple LEDs, instead of multiple Resistors + LEDs combination, I directly connect the LEDs at a point after the resistor where the voltage has already dropped to 3 volts, as seen from the image below. This way, I've managed to lessen the number of components and minimized the area the LED + resistor would have taken inside the kit.
Also I like using this connection since keeping all LEDs in parallel helps in troubleshooting bad, burnt or broken LEDs.
I hope this tutorial helped you in designing your LED circuits. Again, this is in no way standard practice and feel free to improve on these techniques. Stay tuned for more updates on projects and/or more tutorials.