Wednesday, November 22, 2017

[REVIEW] DM MG Exia(Repairs) Unboxing

NOTE: You may or may not need this review in the future. ;P
Anyway, here's an unboxing review of the Dragon Momoko MG Exia(+Repair versions).

This kit comes with all parts and accessories for you to build 1 of the 4 versions of the Gundam Exia. Either the Original Exia, Repair 1, 2, or 3.


Box is a almost the same size as the MG Avalanche Exia. Plus 1/100 Barbatos box for scale.


This kit's manual is thick. It's a bit confusing since it instructs you to build the Exia Repair 2-3 body then its accessories. Then it tells you which parts to build and swap to build the other versions.


From initial inspections, everything looks good. Details are crisp, not much molding issues, and colors are vibrant for my taste.


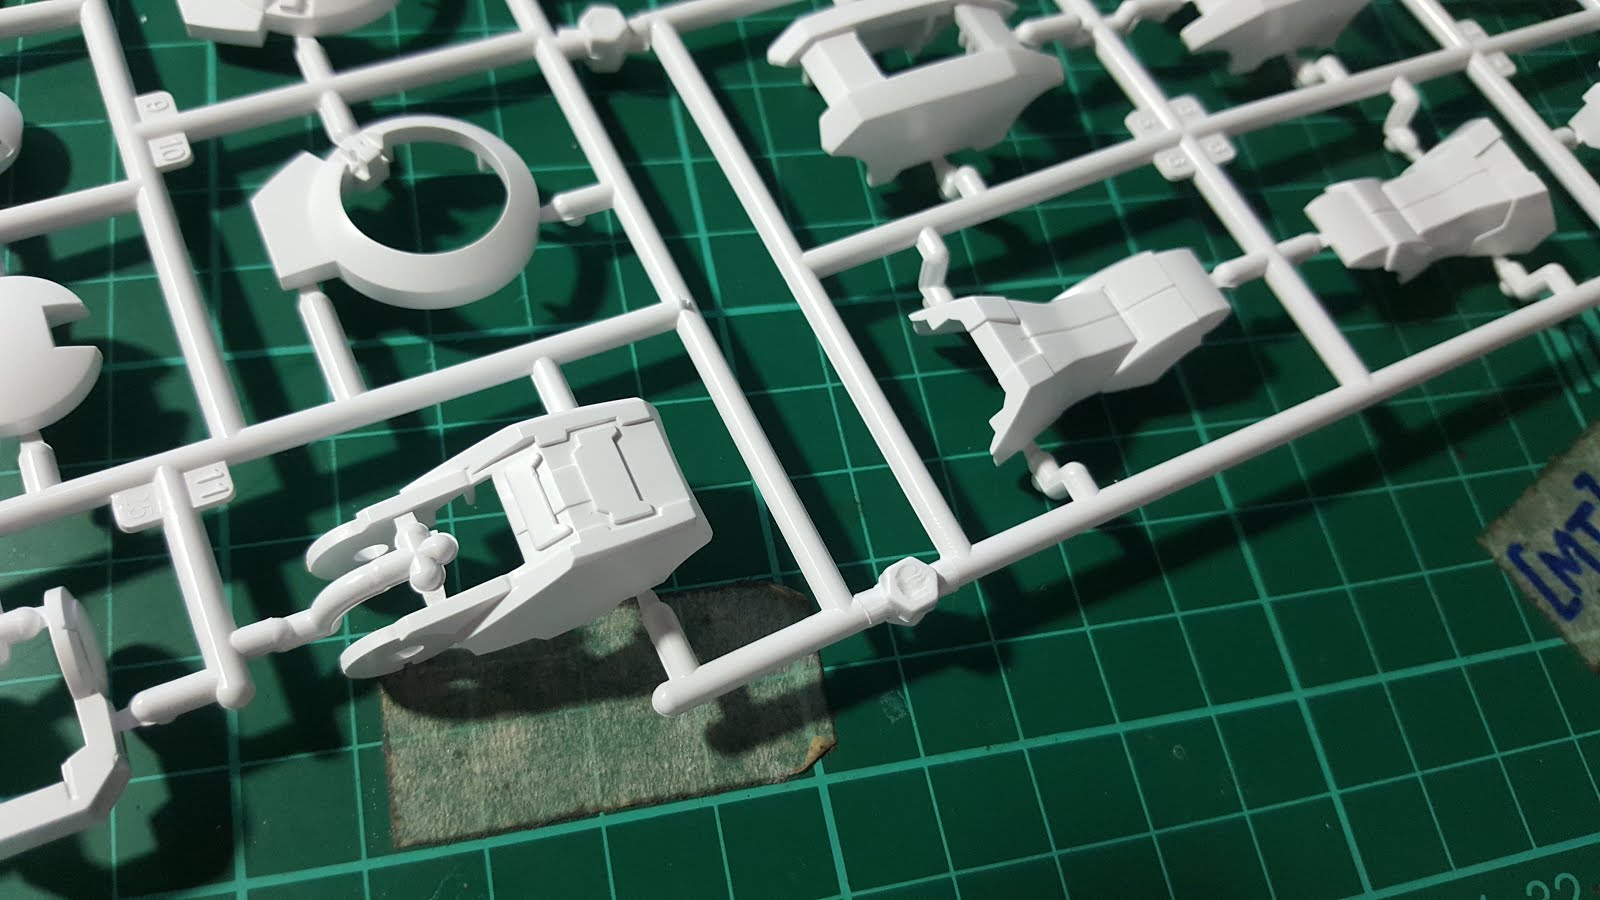
As usual with the recent DM kits, majority, if not all pieces are under gated. Specially the armor pieces. Also, details appear crisp and no notable mold issues


One thing I noticed is that the eye piece for my kit is a bit bent, if not broken. Good thing it's nothing some clue can't fix.

Another notable thing is that most, if not all, non-white armor pieces come in 2 shades. 1 runner is in deep colors and the other has lighter colors. Not sure why it comes with 2 sets of armor. Let me know in the comments. :D


Wednesday, November 15, 2017

[WIP] 1/100 Vintage Real type Zaku I WIP 1

So I finally got to start building this kit.


This kinds of kit are perfect if you want to practice and/or improve your basic model kit building skills. These kits doesn't have the snap fitting technology that modern kits have where the pegs lock into other pieces to form different parts of the kit. For this kit you will be required to glue pieces together.

Plus due to the age, this kits design and proportion looks ridiculous compared to today's standards.


Like I said earlier, this kit requires that pieces be glued together. But since I want to paint this too, I'll have to systematically build this so that I can efficiently paint this kit.


Before painting, I need to make sure all the glued areas are clean. That's called SEAM LINE REMOVAL. Basically I want to make a part look one seamless kit. For more realistic looking models, seam line removal is used to hide where pieces join together and make it look like the full scale version.

I think seam line removal is one of the most repetitive phases of model kit building. It's nearly impossible to get all those seam lines in just one passing. After gluing the pieces, we sand the parts then paint primer to check if the seam lines are successfully removed. The primer helps to bring out all the imperfections of a part, whether a rough area that needs finer sanding, or seam lines still showing. If you're still not satisfied with the results, another round of sanding - priming - checking may be done until you're satisfied.

To properly deal with the seam lines, I need to glue parts 1st that would normally lock other parts together. That is OK and all but not if you plan on painting the kit. 

This is where PRE-PAINT MODS come in handy. It involves modding parts that would make painting and assembling much easier.


A common example of this pre-paint mods would be the knee and elbow joints. without doing those mods. I wouldn't be able to reach those edges and corners during painting and will look bad once finished. 


While dealing with specific parts, I like to put it all together every once in a while to get an overall look of the kit, and to see areas that still need to be worked on. 

As of now, I'm still dealing with the seam lines while I plan my color scheme.

Monday, October 23, 2017

[WIP] RG Unicorn LED mod WIP3

So I was done working on my RG Unicorn but I didn't like displaying it as is. I wanted to be able to present it neatly when I display it. So I decided to work on a display base for this.


My previous wiring design had the connectors at the crotch area of the kit. this is good for displaying the kit with an action base. But for standing poses, the wires are obvious and sometimes a sore to the overall presentation of the kit. Also having the power bank lying beside the kit doesn't look too presentable.


1st thing that I worked on was the power supply for the kit. I had an extra power bank lying around so I just tore it apart to make it as small as possible. 20000mah is a bit of an overkill for this kind of project. :P


I tried tested running the kit for at least 2 days straight and it didn't even drain 1/4 the power bank's capacity. 

On to the kit itself.


Next thing I worked on was replacing the power connectors from the crotch area to one of the feet. I just cut off the connectors from the crotch area and hid the wires in the waist area. I then disassembled on of the feet and soldered a new pair of wires to one of the LEDs in the foot.


For the base, I used a wall clock that looks good with the kit and fit the power bank I used.


I replaced the front glass with 1mm plaplate since I can't drill on glass without risking breaking it. I just cut a hole where the feet would be placed and passed the wire through. Then I just taped the power bank in side the base so I can still remove it easily whenever I need to.

Now it looks much more presentable. And since it has no wires showing, turning it on looks more awesome. :D

[REVIEW] BSC Haro Review

Today I give you a review of the Billion Spark Craftsmanship(BSC) Haro model kit.

I believe this is the 2nd Gundam related model kit from this company. the 1st being the 1/35 Unicorn gundam head bust. 


Since this is the 1st model kit for this character(that I know of). Everything, from the box art, the manual, and to the kit itself looks original. The kit comes in a thick and sturdy box that opens from the side unlike your regular Gunpla.


The kit's manual is an interesting piece too it using a mix of 3D and actual kit images for its instruction steps.

On to the kit itself.


Parts look a bit too tick compared to your average gunpla kit. Amount of details are OK for the model's design. Moldings are quite good too. No obvious molding errors. Also the plastic feels a bit too dense so care should be taken when dealing with nubs. Aside from your regular plastic parts. It also has some screws to put in. BSC was kind enough to include a screw driver. The kit also has its own LED unit for the eyes.


Aside from the LED unit for the eyes. The kit also comes with a cool gimmick where both ears are geared to open and close together.


Also the kit comes with swappable parts so you can display Haro with his arms and legs extended.


Also here's a size comparison with the RG Unicorn Gundam. This model is not too big and just fits on one hand.  I think this model is sized with the Gundam Seed version of Haro.

Welcome

Welcome to MechTalyer. My personal space for everything Gunpla.

Search

Popular Posts

Followers

Categories

1/100 (5) 100 (7) 144 (10) 2017 (4) air compressor (2) airbrush (6) amazing red warrior (2) anubis (1) avalanche (1) bandai (9) barbatos (1) base (5) blog (1) bsc (1) community (2) completed (1) conversion (2) custom (18) daban (3) decals (1) destiny (1) display (7) dragon momoko (10) event (1) exia (4) expo (2) flying base r (1) geirail (1) GMKC (2) guide (1) gundam (21) gunpla (24) gunpla builders den (2) haro (1) hazel custom (1) hg (8) hobby (11) IBO (1) jesta cannon (1) kamil (30) kotobukiya (1) led (38) led unit (1) magic toys (1) master grade (11) meetup (1) metal build (5) MG (25) mod (25) monoeye (1) nu (4) others (2) paint (7) pearl gloss (1) peg (1) phenex (4) philippines (4) qan[t] (2) random (7) review (15) RG (6) rx78 (2) setup (1) shia (2) sinanju (1) site (1) star build strike (2) stickers (1) strike freedom (8) tthongli (2) tutorial (6) unicorn (5) upgrade (1) vintage (2) wing expansion effect (1) wing zero custom (1) wip (36) zaku (2) zaku 2 (3)

Statistics

Powered by Blogger.