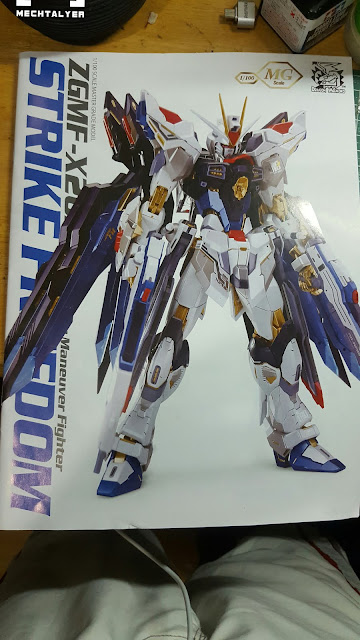
[WIP] Dragon Momoko MG Strike Freedom MB ver. WIP 1
Since most of my ongoing projects are on their final stages. I went ahead and started working on this.
Based from the unboxing review of the kit, most of the parts are under-gated, which is a good thing.
Since most of the parts are under-gated, I decided to start painting them while still attached to runners. This makes painting similar colored parts easier since they are all still grouped together. This also helps me not to loose any parts before assembly.
Unfortunately, there isn't much part separation for most of the small details, Which means there will be a lot of masking and painting for the small details.
Since majority of the parts are painted, I've already started wring some of the parts, mainly the verniers throughout the kit. I'm still planning on adding lights in a few other places depending on how they will look on the final result.
One of the most notable "issue" with this kit is the gold color of the inner frame. A lot of people actually preferred Daban's plated gold but then there's the issue with nub marks.
Good thing there's Zurc Hobby Paints. They're a local custom paint supplier. I got to try one of their latest paints which is the hyper silver and I'm very impressed with the result. It's still far from the chrome plated look but really shiny silver right off the bottle. No sanding. No priming. No gloss undercoat. Just straight airbrushed and considering my beginner airbrushing skills and my DIY airbrush setup, I'm getting really satisfying results.
Here's some tests for the gold inner frame. The hand was painted with a light coat of Zurc's gold paint compared to a piece of the MG Phenex. It has that Matte gold finish similar to the MG Hyaku Shiki 2.0. It really looks good on pics but it's too light for my taste specially when seen in person.
Instead of laying gold paint over the silver, I tried clear yellow and I'm really liking the result. The brightness of the silver still pops out under the clear paint, almost giving it the plated look at a lesser degree.
Hopefully by the next update I've finished working on the wiring and painting the inner frame. I expect that masking and detailing will take the most time so I'll try doing them bit by bit.
This kit will have a lot going and I'm not planning on finishing this any time soon. I'll be taking my time working on this so as not to mess anything up. This will test everything I know and can do in building Gunpla. And this will also be a good opportunity to learn and apply new things.


I see the color you used matched the color outbof the box.... very nice... can I know what paint do you use.. thanks.
ReplyDeleteHere I used Zurc metallic paints. They're a local brand.
DeleteGreat and I have a swell offer you: Who Repairs House Siding home renovation contract template canada
ReplyDelete