
[REVIEW] My Airbrush Setup
|
Friday, January 13, 2017 at 2:02 PM |
1 comment |
![]()
Since I've finally started painting, might as well share with you what I use to paint my kits.

I'm currently using an cheap unbranded 0.3 mm gravity feed airbrush. For the Air compressor, I'm using 2 generic tire pumps with a 12v 5A power supply.


I'm using 2 pumps since 1 pump doesn't have enough pressure and that it pumps out air in pulses which is not good for airbrushing. With 2 pumps, I get around 25 psi with the airbrush pressed.
The fittings and hose came from a pet store in the aquarium section, These are what they normally use in aquarium pumps. Good thing they fit quite well to the airbrush and pump.
To prevent the pumps overheating, I turn on the pump only when I'm about to spray on a piece. I use a DIY extension socket with a switch that I can press with my foot to better control the pump. I make sure to give the pumps some rest around every 30 mins to prevent overheating the pumps, and since I'm only able to work on painting for very short periods of time.

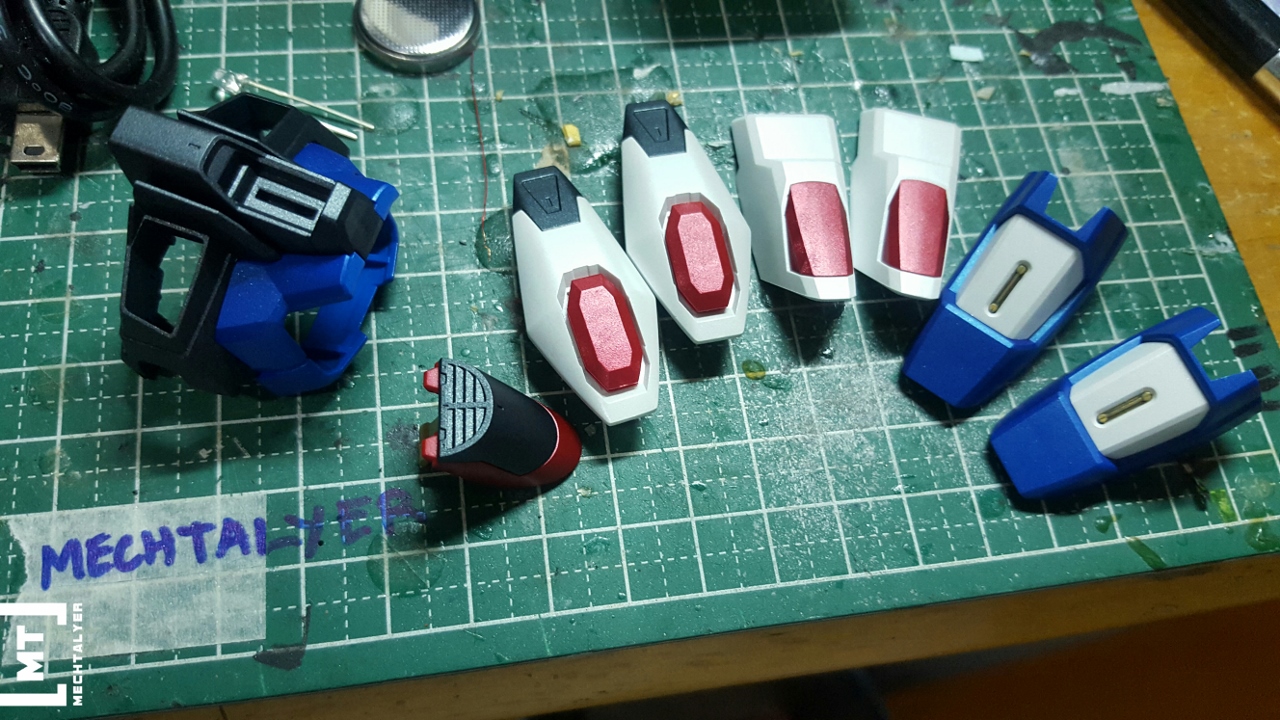

Even with this setup, I'm very satisfied with the results it gives. I know that this setup will not be able to achieve advanced effects. But this setup works well for basic painting.

As with other, regular air compressors, moisture buildup is an issue. This setup builds up moisture in the tubes quite quickly so you will get some splatter quite quickly.

To deal with that, I got a mini moisture trap to prevent water from mixing with the paint. I also got a quick release valve mo make removing the airbrush easier during cleaning and other stuff.

Though the moisture trap slightly dampened the pressure, It does a really good job of preventing the water from reaching the airbrush. That much water was just from around 15-20 minutes of running the air pump.


So far I'm really satisfied with the result this set up provides. I know I wouldn't be able to do much more than basic coats with this but I can see myself working with this setup for the foreseeable future.
Though I still suggest getting a proper airbrush setup. For the total price I've spent here, I might have been able to buy a proper basic air compressor. The air pumps cost me around 10 USD, the power supply cost around 13 USD, other stuff like hose and fittings cost around 5 USD. Still proper airbrushing equipment is a very good investment which will serve you well in the long run.


Nice work!
ReplyDelete