[WIP] MG Strike Freedom Gundam WIP 2
After all the happenings during the holidays and the busy work-life stuff out of the way, I've finally managed to get as much done enough for a blog update.
It's been a long time since my last update so it's a good thing that I managed to do quite a lot in this project that it's almost nearing completion.
Backtracking to where I stopped from the last update, I continued painting the various parts while wiring up the frame.
I actually sawed slits in the chest vents to add to the light effects.
I was actually waiting for my ordered 1.8mm LEDs to arrive for use in the backpack but decided that the 0603 smd LEDs could still work. And they do work quite well.
Also, lighting up the head required 2 0603 smd LEDs to light up both the eyes and the forehead sensor. I could have used a different LED but I'm currently running low on my supply of LEDs since my order hasn't arrived yet.
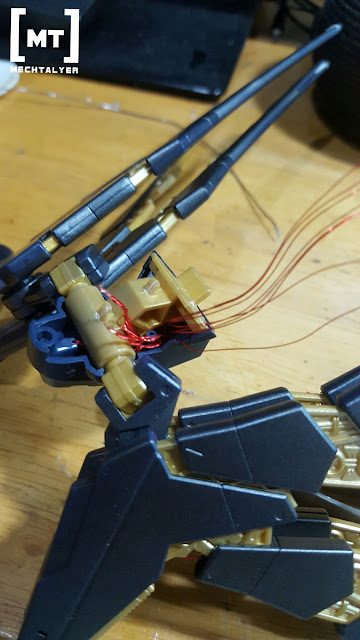
I've also wanted to light up some sections of the wings to give the back view a better look.
Trying to hide the wiring as much as I can was a pain since I had to work with small pieces and pass the wires through some moving mechanisms.
Once I've finished painting enough major pieces, it's time to start putting them together.
Luckily the waist area has enough space to pass the wiring. It only needed minimal drilling to get the wires around.
And now the main body is put together and the wiring combines.
After the main body, it's time to put the backpack on. The backpack had the most LEDs in the kit. Good thing there where enough space in the areas we needed to handle all the wiring.
Once all the wires parts are put together, it's really good to see them all lit up.
I noticed that some of the wing tips have lesser light than the others. This could be due to the LED coming from a different source/ batch than the other LEDs. It just sucks that they aren't noticeable during initial test but look a bit too obvious when seen with the other parts. If it gets to me I may try replacing those once I get to restock my LEDs.
I originally planned to have this displayed with the wings opened. Unfortunately I may have under estimated the placement of the holes in some moving sections of the wings as that is as much as I can open them. I guess I'll have to find another pose for this.
With all the LED wiring done and most of the kit assembled, I'll just have to finish painting a few minor parts then some panel lining and decals will finally complete this project.


0 comments:
Post a Comment