
[WIP] Dragon Momoko MG Strike Freedom MB ver. WIP 2
|
Thursday, February 2, 2017 at 8:39 AM |
4 comments |
![]()
For this project, I decided to start working on the backpack first since it's what I think that had the less amount of details to be painted. And also because most of the lighting would be on the backpack anyway.


My masking skills will be tested with this project. Lots of small bits of detail that needs to be painted but once done really makes the piece look good.
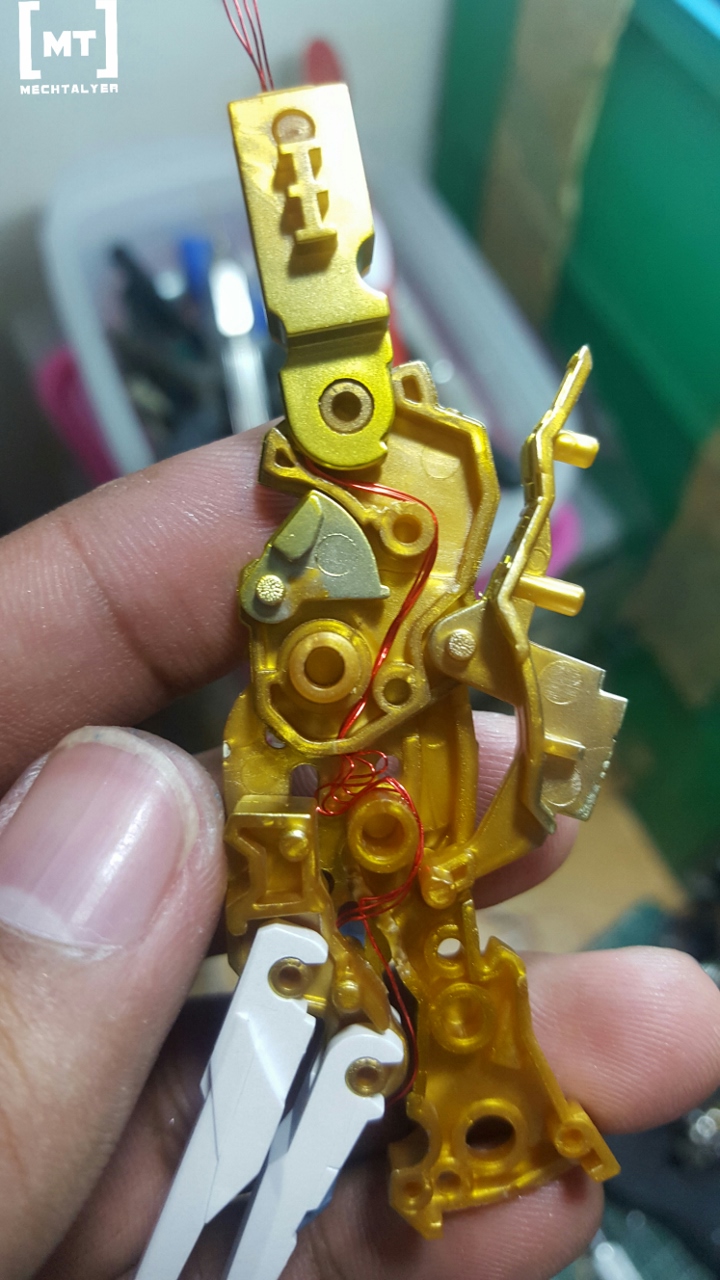
The gold details are painted similar to the inner frame for consistency and uniformity, Zurc hyper silver then Tamiya clear yellow. While the other details are just a combination of my paints to get the desired shade.


Unlike what I did with my 1st MG Strike Freedom project, I'll just simplify the wiring for the wings. Although this doesn't have the complex gimmick the Bandai kit has, avoiding the joints would help the joints and the wires from breaking easily and the joints' range of movement will not be obstructed.

Unfortunately, the backpack's main thrusters are molded in a different color which is not translucent. I'm still thinking on ways to work on this. I'm currently considering recasting the parts in clear resin or just drill holes in the thrusters. I'm taking my time planning this so that I can execute this properly.

Moving on to other areas, I'm also working on the head, starting with painting the eye sensors. It would have been easier to just hand paint the black area around the eyes but here I used an airbrush to do multiple thin coats. Airbrushing dries the paint faster, gives a cleaner more even look, and it's easier to clean up because of the thin coats.
I've also started working on the legs of the kit. Good thing there were enough space inside the legs to pass the wire through without needing too much modification on the parts.
This kit still needs a lot to be worked on. Mostly masking and painting the color separation and other details. Hopefully next time I would have already painted a lot more details.


so cool man, nice job!
ReplyDeletebtw do you painting all gundam with airbrush ? Im so excited waiting your WIP
I do majority of the painting with an airbrush. For the little details, I just hand brush them or use markers.
DeleteWhat type of SMD did you use and what are the sizes of the wires? I'll try to do this (even if I am going to miserably fail hard).
ReplyDeleteI used a mix of 0603 and 3528 SMD LEDs, depending on the space inside the parts. The enamel coated wires are 30awg. This is the thinnest size that works for me. I tend to break the thinner sizes easily.
Delete